> For the complete documentation index, see [llms.txt](https://taiphoon-com.gitbook.io/taiphoon.com-docs/llms.txt). Markdown versions of documentation pages are available by appending `.md` to page URLs; this page is available as [Markdown](https://taiphoon-com.gitbook.io/taiphoon.com-docs/ja/firmware/ardupilot/flash-autopilot.md).
# ファームウェアの書き込み
Morakot には出荷時に ArduPilot が書き込まれています。ArduPilot を変更または更新する必要がある場合は、Mission Planner のファームウェアインストール機能を使用します。
## 始める前に
* フライトコントローラーのモデル、ハードウェアバージョン、インストールする機体タイプのファームウェアを確認します。
* [Mission Planner ダウンロードページ](https://firmware.ardupilot.org/Tools/MissionPlanner/)から Mission Planner をダウンロードしてインストールします。
* フライトコントローラーを USB でパソコンに接続します。
{% hint style="warning" %}
書き込みの前にプロペラを取り外してください。書き込み中は USB 接続と電源供給を維持し、プログラムが完了するまで待ってください。
{% endhint %}
{% stepper %}
{% step %}
### ファームウェアのインストールを開く
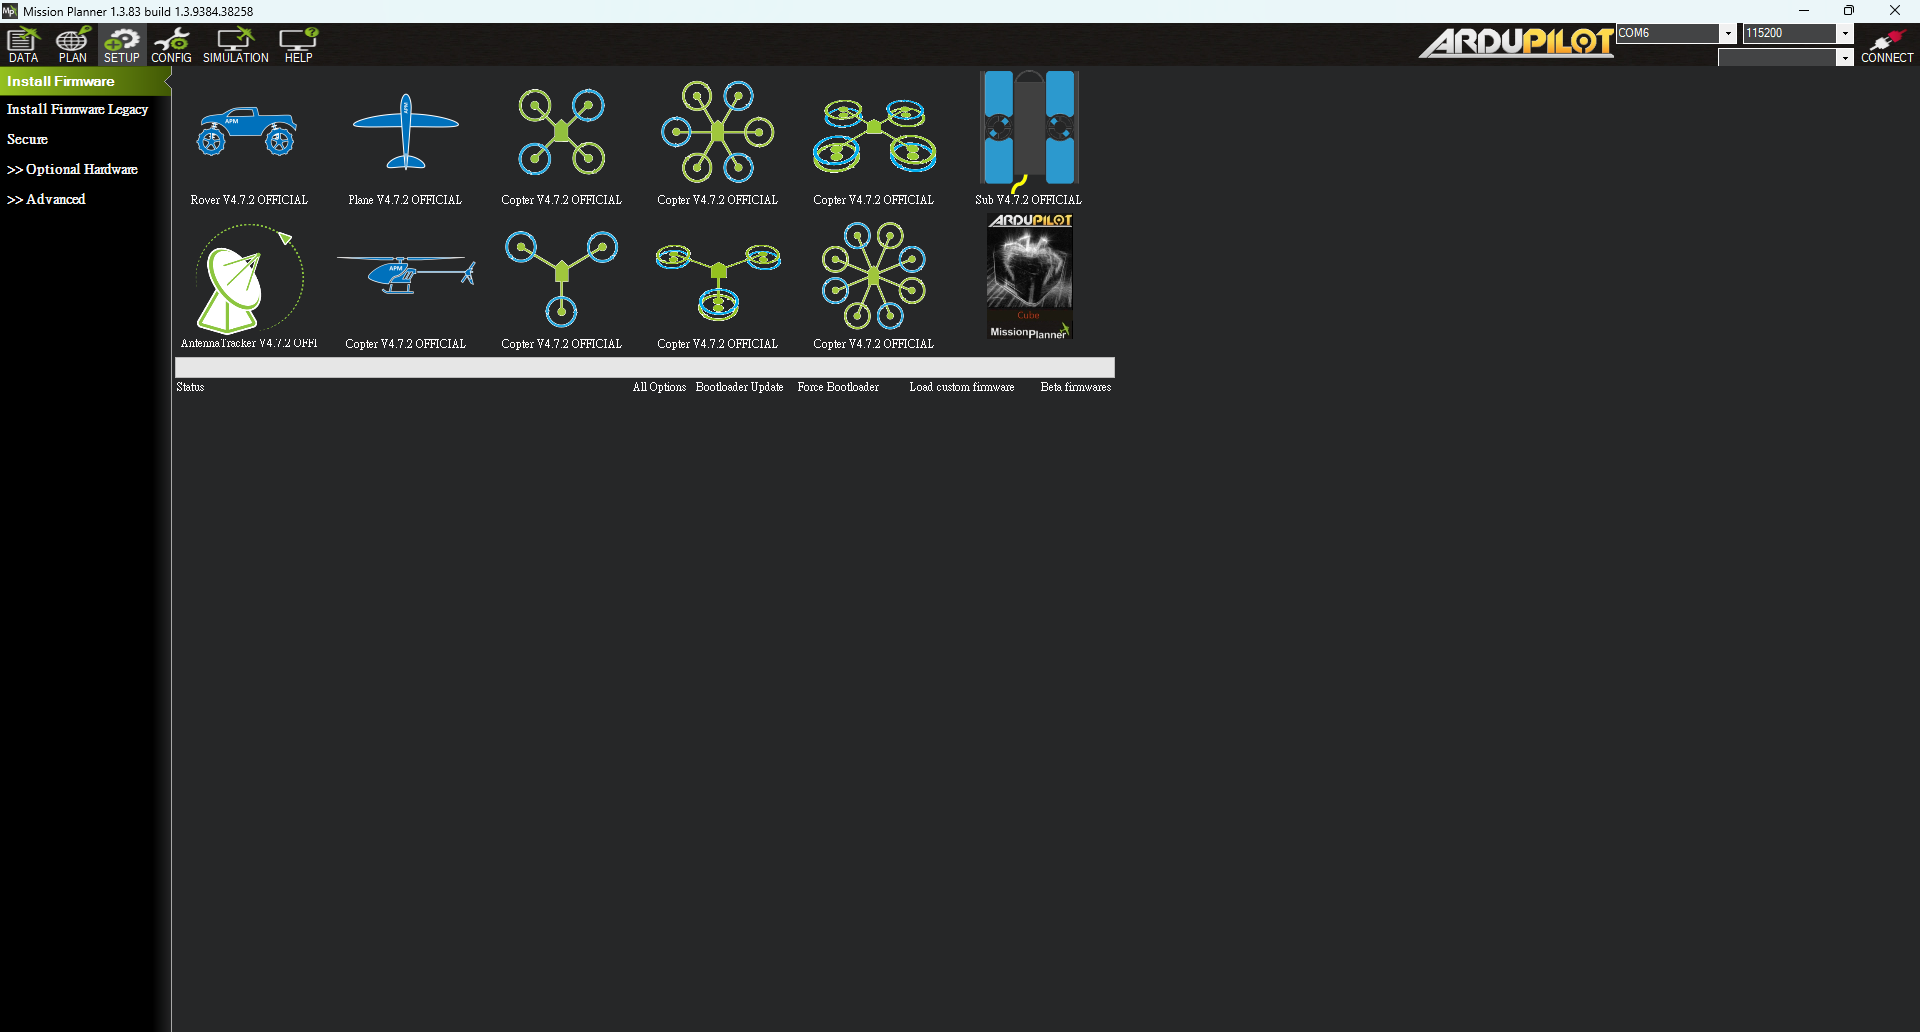
Mission Planner を起動し、地上局を未接続の状態のまま、「初期設定」→「ファームウェアのインストール」に進みます(英語 UI では **SETUP** → **Install Firmware**)。
 {% endstep %}
{% step %}
### 機体タイプのファームウェアを選択する
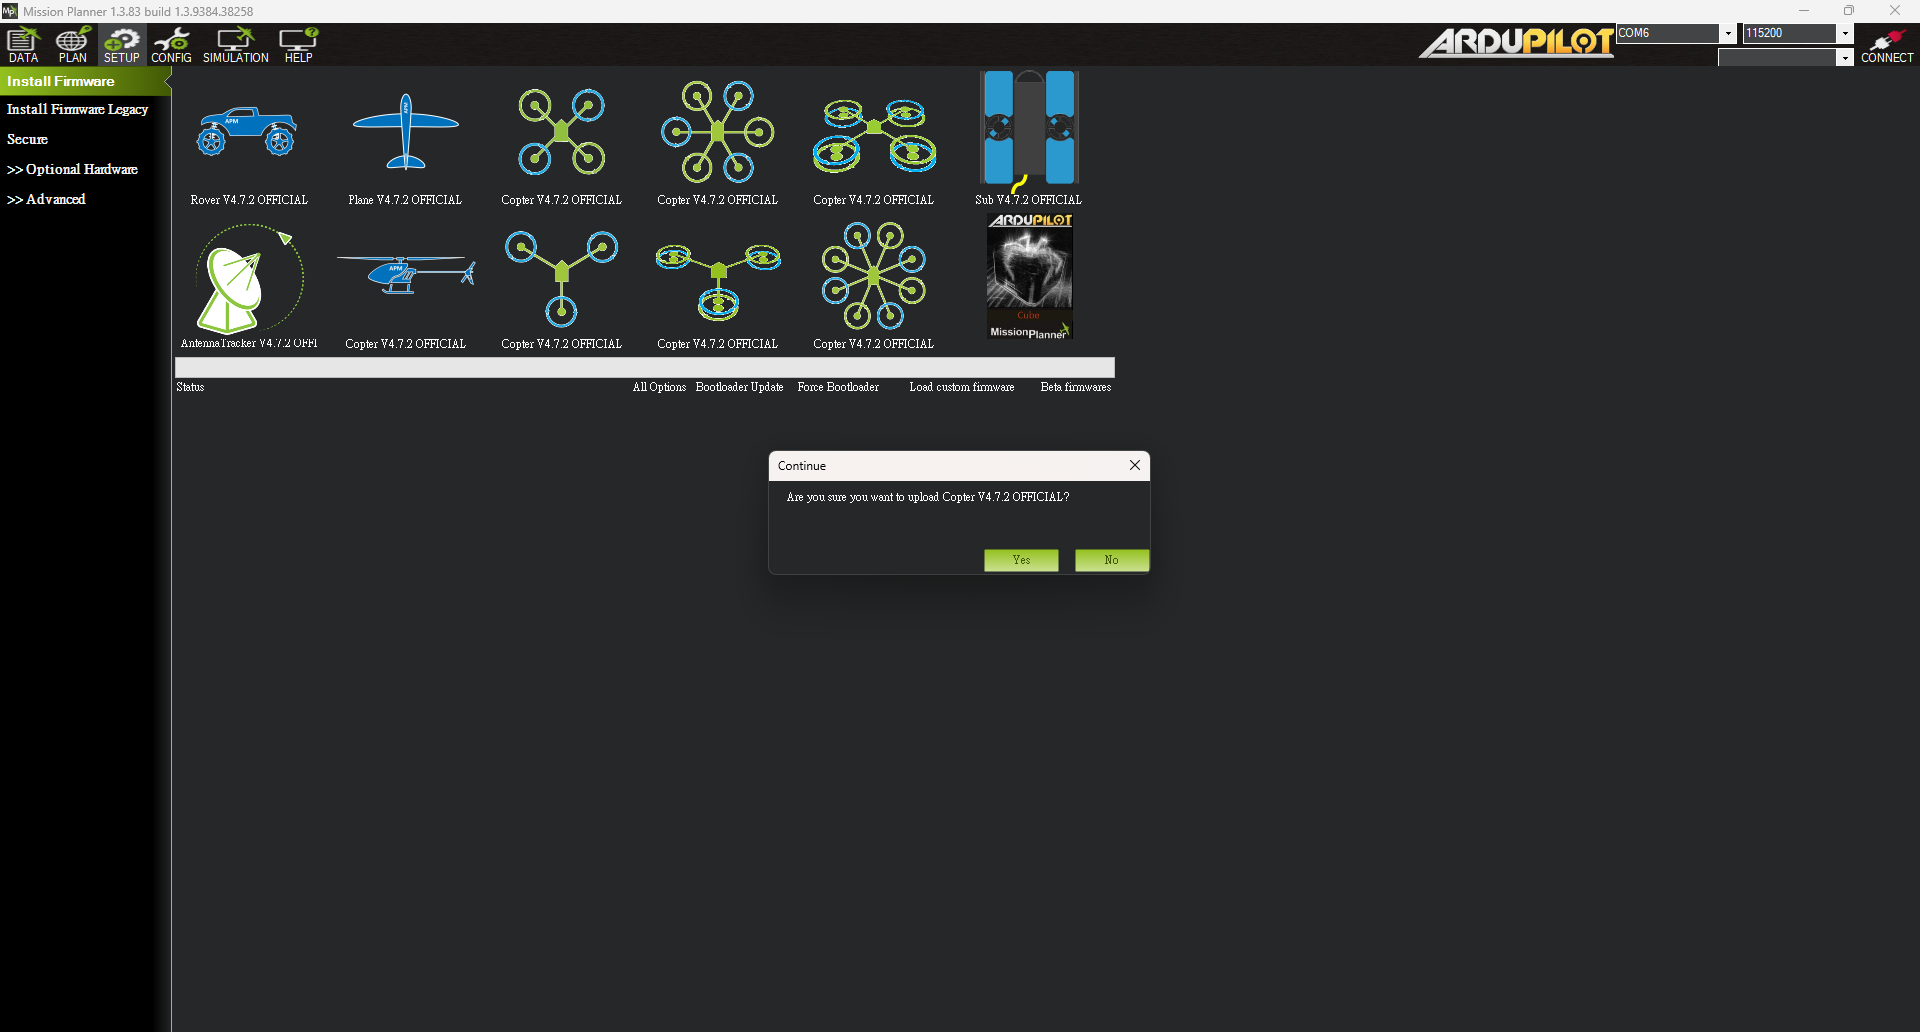
機体に合わせてマルチローター、固定翼機、またはその他の対応するファームウェアを選択し、インストール対象が Morakot であることを確認します。
 {% endstep %}
{% step %}
### インストールを実行する
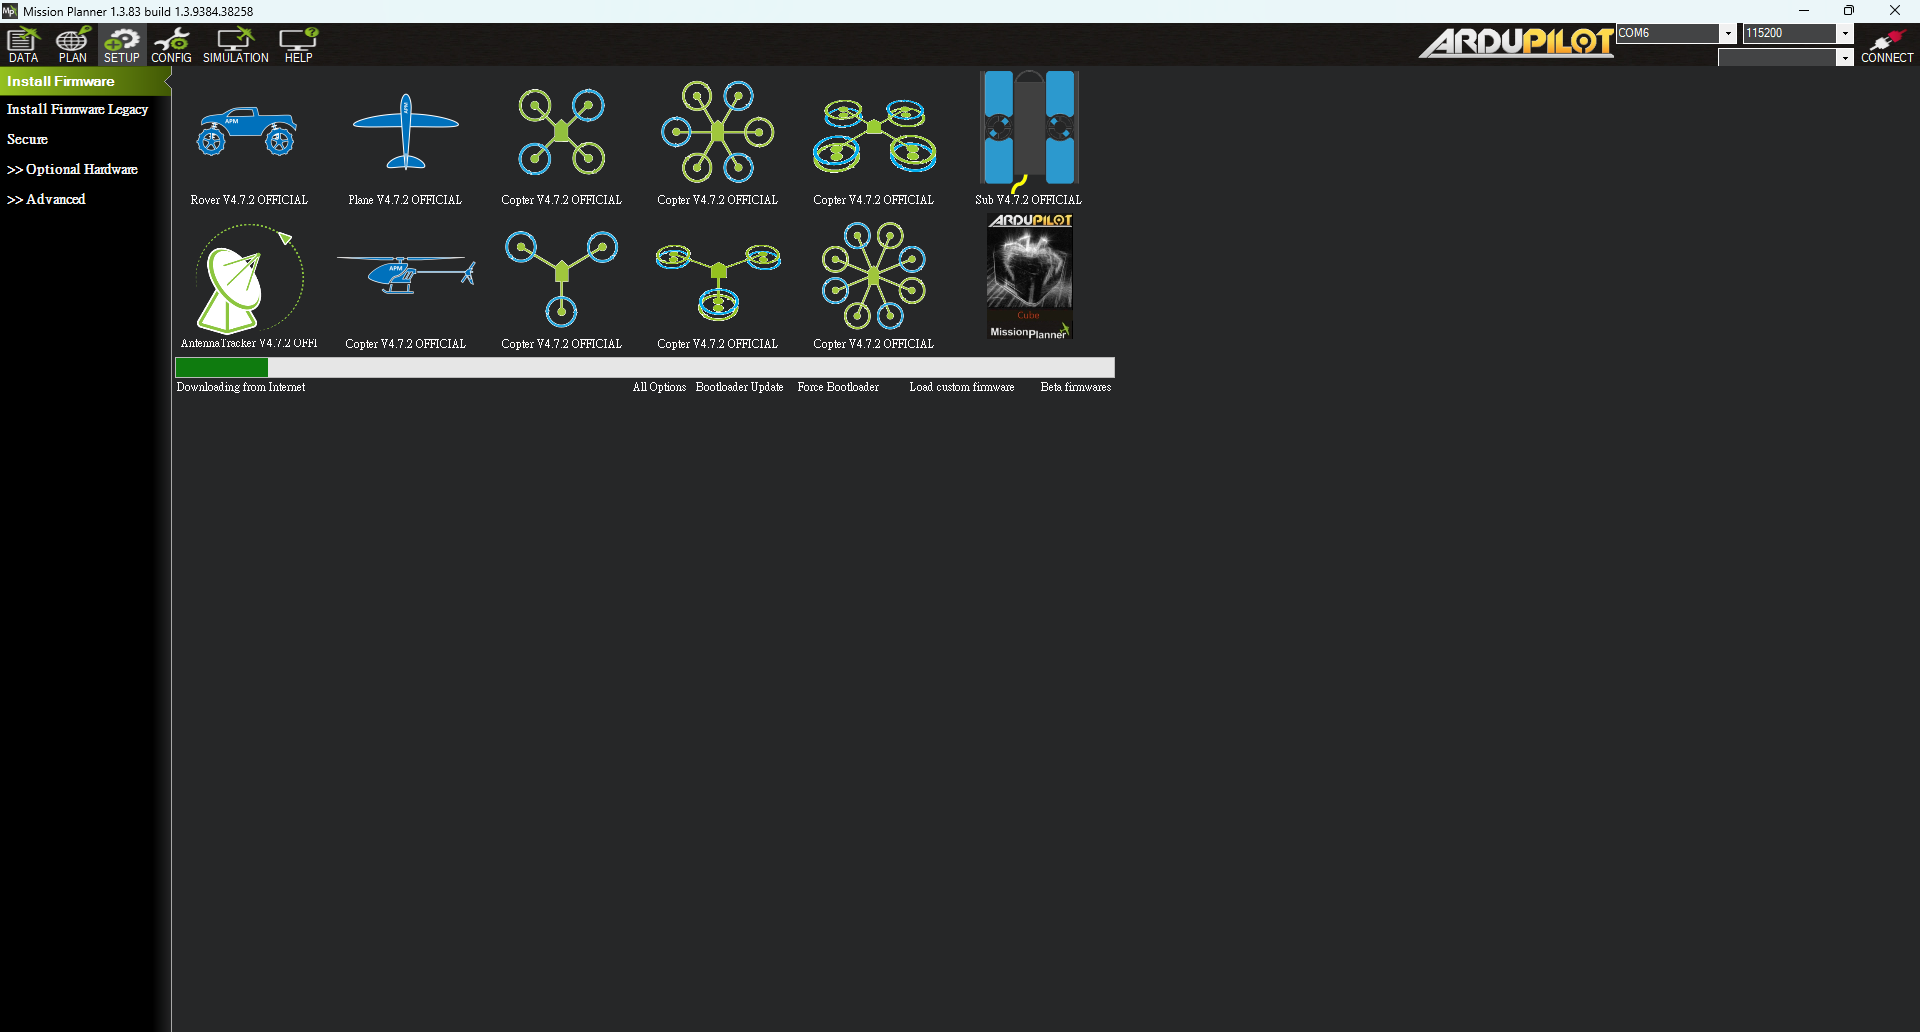
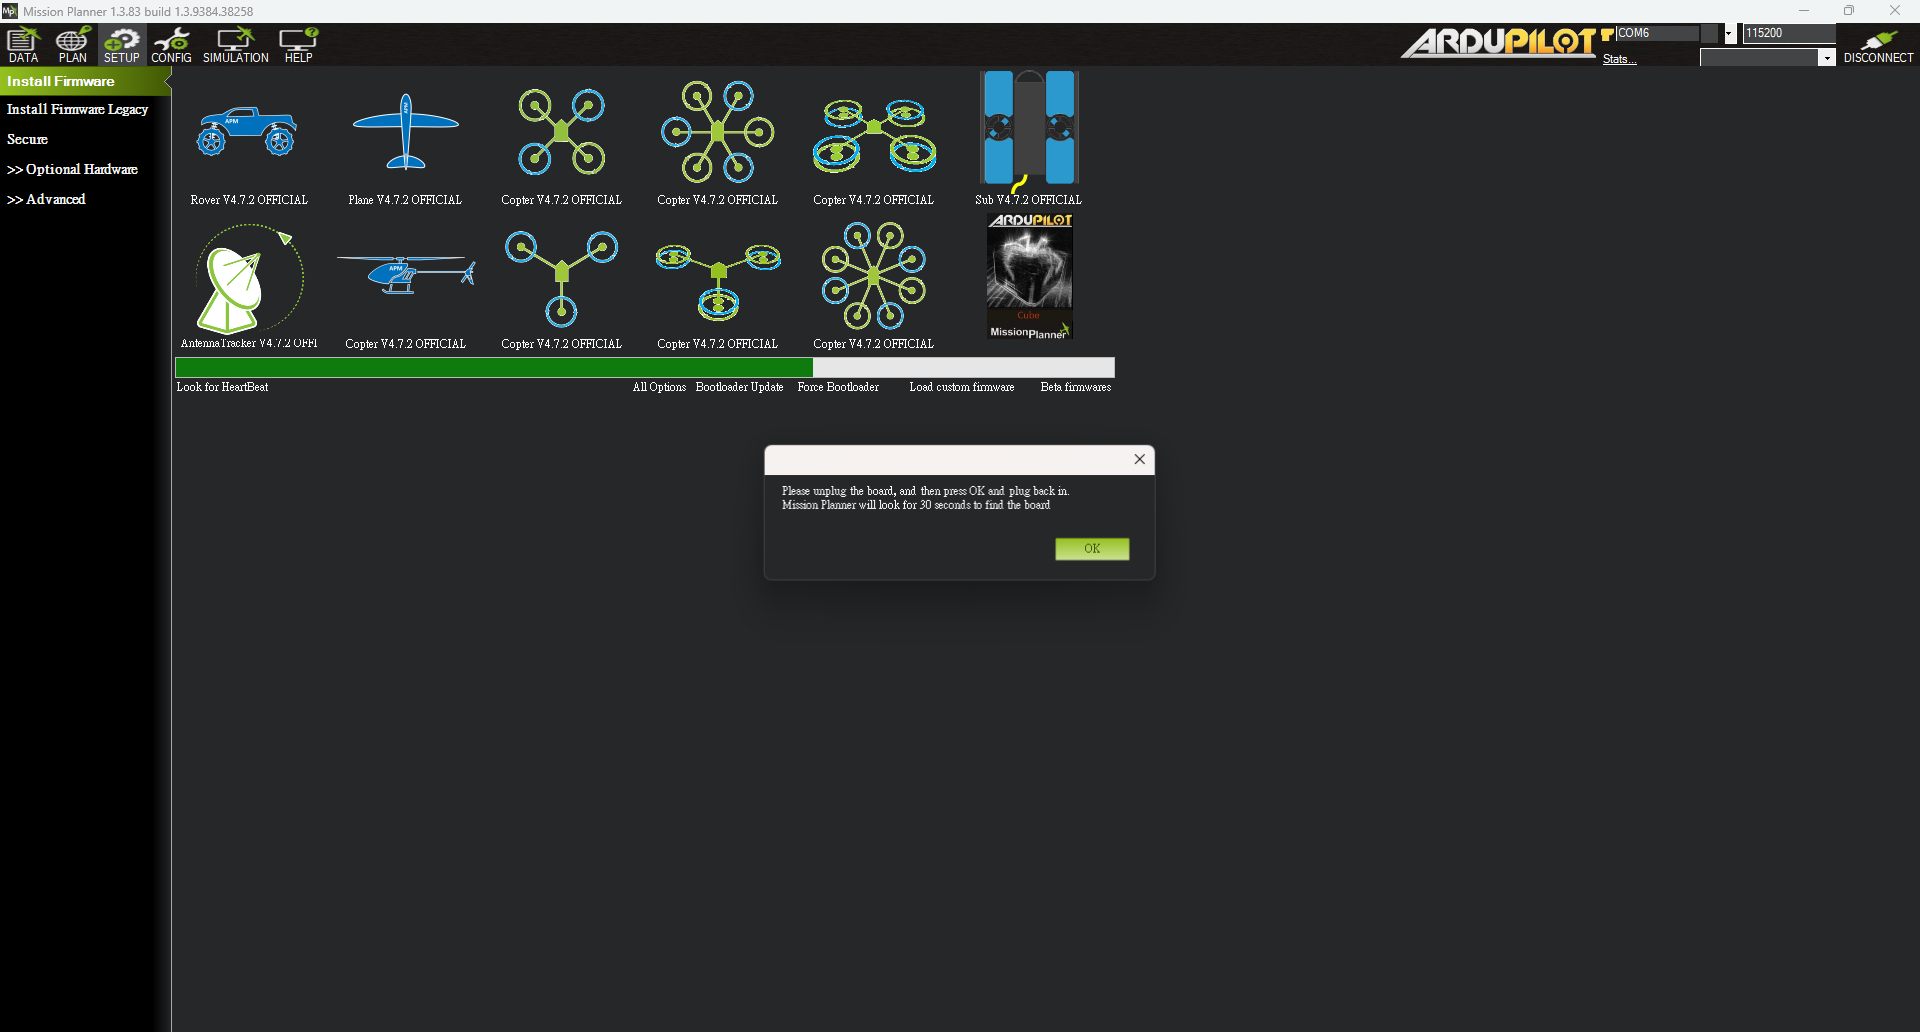
選択内容を確認したら、Yes を押してダウンロードとインストールを開始します。`Please unplug the board, and then press OK and plug back in.` と表示されたら、USB を抜いて **OK** を押し、再び USB を差し込みます(Mission Planner は 30 秒以内にフライトコントローラーを検索します)。書き込みが完了するまで待ち、その後フライトコントローラーを接続して、現在のファームウェアと地上局の状態を確認します。
 {% endstep %}
{% endstepper %}
## STM32CubeProgrammer で書き込む
USB DFU モードを介してファームウェアファイルをフライトコントローラーに書き込む手順は、[STM32CubeProgrammer による書き込み](/taiphoon.com-docs/ja/support/knowledge-base/stm32cubeprogrammer.md)を参照してください。
## 次の設定
[初回設定](/taiphoon.com-docs/ja/firmware/ardupilot/first-setup.md)に進み、センサーのキャリブレーション、入出力、フェイルセーフの設定を完了してください。
特定のバージョンやファームウェアファイルが必要な場合は、フライトコントローラーのモデルとハードウェアバージョンを添えて、 までメールでお問い合わせください。